DIY Wax Wraps: Easy Eco-Friendly Food Wraps from Old Fabrics
Share
Looking for new ways to introduce a little more sustainability in your daily life? If you’re looking for an eco-friendly alternative to cling film, beeswax and soy wax wraps will be your new best friends.
They’re reusable and compostable and not only that, but you can also easily make them yourself at home with fabrics you already have on hand.

Why make wax wraps?
Did you know that, according to It Recycle, UK households use approximately 1.2 billion metres of cling film each year? Not only that, but cling film is also notoriously hard to recycle with almost none accepted in household recycling.
- Reduce plastic waste: Your swanky new wraps will replace single-use cling film and sandwich bags
- Save money: One wrap can last up to a year with regular use, and you can easily extend their life by repeating the process and adding a little more wax to refresh your wraps
- Unique designs: Using pre-loved and second-hand fabrics means you can get creative and match patterns that suit your personality and interiors
Step 1: Hunt for fabric
You don’t need to spend money on expensive new fabrics, chances are you probably already have some on hand or alternatively you can head down to your local charity shop and pick up some fabrics at a fraction of the cost. Here’s where to look for fabrics:
- Your own home: Old pillowcases, bedsheets, tablecloths or cotton shirts
- Charity shops/second-hand stores: Look for 100% cotton with tight weave
- Community arts and crafts groups: Reach out to your local crafts groups in case they have any offcuts up for grabs
Tip: Hold up the fabric to the light, if you can see through it easily, it might be a little too thin. You want something lightweight but not flimsy.
Step 2: Gather your supplies
Next, you’ll want to gather all the supplies you’ll need, here’s the list:
- Pre-washed 100% cotton fabric, cut to size. Most common sizes include: 20x20cm, 30x30cm or 35x35cm
- Beeswax pellets or grated beeswax (about 1-2 tbsp per wrap)
- OR soy wax for a Vegan alternative, pellets or grated (about 1-2 tbsp per wrap). Soy wax can be a little softer than beeswax so you could also add some candelilla wax to make them a little harder.
- Baking paper / parchment paper
- Oven tray or iron
- Scissors or pinking shears
- Optional: Pine resin and jojoba oil (these help make wraps more pliable and sticky but this is not a necessity, beeswax alone works great too)
Step 3: Prepare the fabric
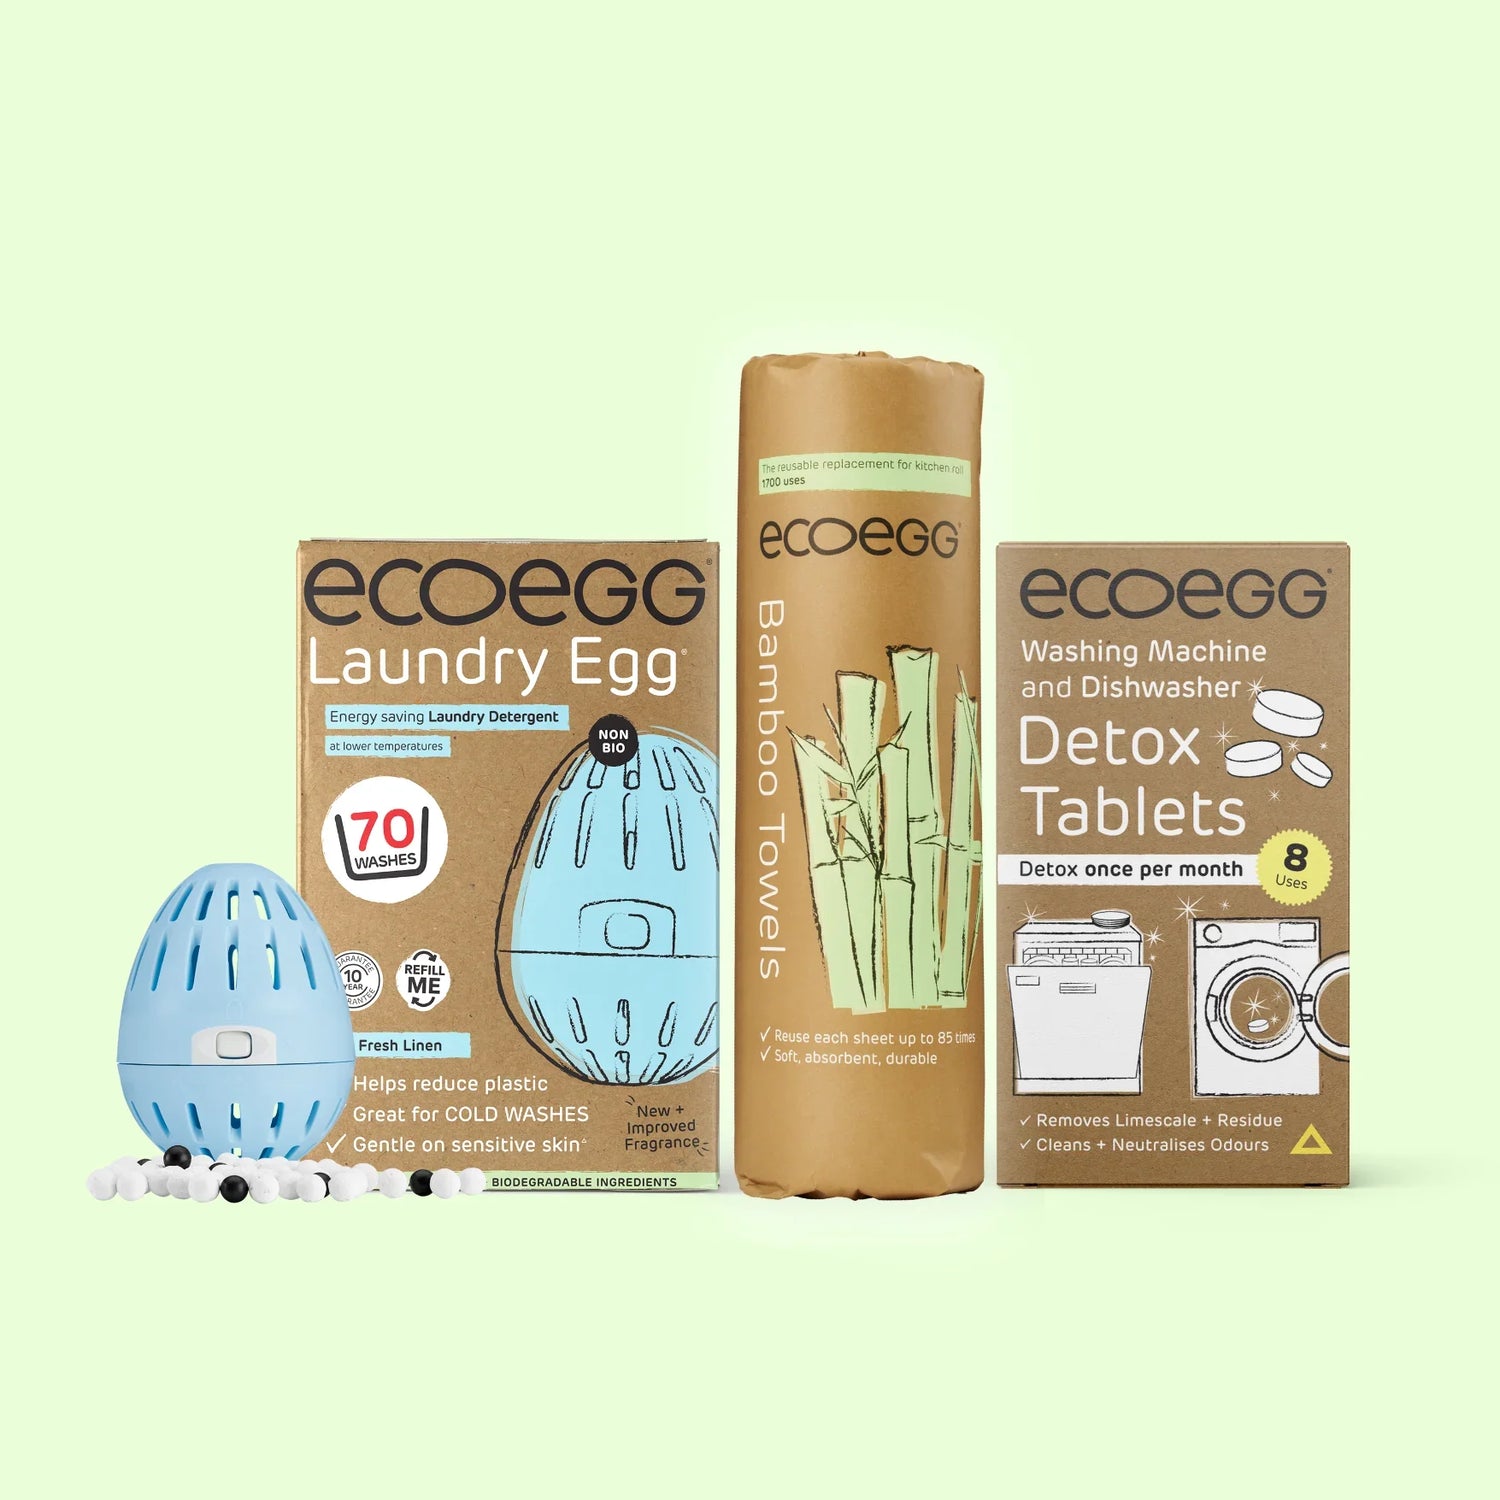
- Wash and dry your fabric to remove any residues. We recommend using the Ecoegg Laundry Detergent Egg. Our Laundry Detergent Eggs don’t use harsh chemicals so they’ll be perfect for refreshing your fabric while remaining safe to use for your leftovers
- Cut your preferred sizes, use pinking shears if you have them. But don’t worry if you don’t, you can just use your regular scissors too
Step 4: Apply the wax
We recommend using the oven method which is a whole lot less messy and easier for beginners.
- Preheat your oven to 80C
- Place a piece of baking paper on your oven tray
- Lay your fabric on top and sprinkle evenly with beeswax or soy wax pellets
- Pop it in the oven for 3-5 minutes until the wax is melted
- Use a clean brush to spread the wax evenly to the edges
Iron method:
If you’re strapped for time, this is a much quicker method but can be a little more messy. If you’re opting for the iron method, be cautious not to spill your wax as it can be a little tricky to clean up.
- Place your fabric between two sheets of baking paper
- Sprinkle on beeswax or soy wax
- Iron gently over the top layer until the wax melts and spreads
Step 5: Dry and cure
The hard part is now done, all you need to do is leave your wax wraps to dry and set and you’re good to go!
- Lift your wrap by the corners and wave it gently until it cools
- Once dry, it’s ready to use, just mould around bowls or food with the warmth of your hands
Care tips:
Haven’t used beeswax or soy wax wraps before? No worries, here are a few extra care tips to make your first time using your wraps as smooth as possible.
- Wash in cool water with mild soap, then air dry
- Avoid heat, no microwaves, dishwashers or hot water
- With care, your wraps will last around a year. When they’re worn out, compost them or use as natural fire starters.
Extra ideas:
- Match different sizes for a gift set, perfect for eco-conscious friends
- Use quirky vintage prints to make wraps that spark joy every time you open the fridge
- Keep an eye out for seasonal or themed fabrics in charity shops to make festive wraps
Making beeswax or soy wax wraps from second-hand fabrics turns waste into something beautiful and functional. Every time you want a sandwich in a cheerful old shirt pattern or cover leftovers with a floral print that once lived as a pillowcase, you’re helping the planet in small but meaningful ways.

